Plus Plan
Having had a late start to product design year 2 my aim for the PLUS weeks is to catch up on the most essential aspects of Major 1.1 and 1.3 I was not part of. The station skills are a foundational part of these projects which I am still lacking. The main focus through these briefs is for me to get an understanding of the material and technique and final deliverables being successful tests, experiments, prototypes that relate to the Majors.
The brief for Major 1.1 I would like to focus on creating a product series with context, target group, and storytelling element. For Major 1.3 I would like to focus on a prototype for a functional product for HEMA.
Stations: Metal, Wood, Digital Lab
Aim:
Metal Station
MAG Welding
I started by joining the Metal Station, where I was told to just come by with a reservation at the station and Raymond would help me get a head start with some foundational skills. I ended up joining a small instructions class for MAC welding.
At first we went through simple safety guidelines, which is to always wear the welding apron, jacket, and gloves for protection. And importantly keeping the helmet turned on when welding.
Notes:
- if welding metal thickness 3mm that is the approx distance the welding machine should have from metal
- weld in one spot for more than 3 seconds
- when welding two pieces together always leave approx. half the distance of the metal thickness in-between the two pieces - important because it will allow the metal to go through to bind the metal
- settings on machine are changed (ask for help) when using metals of different densities (soft/hard)
- to Weld two metal pieces together from the outside and inside differs in motion
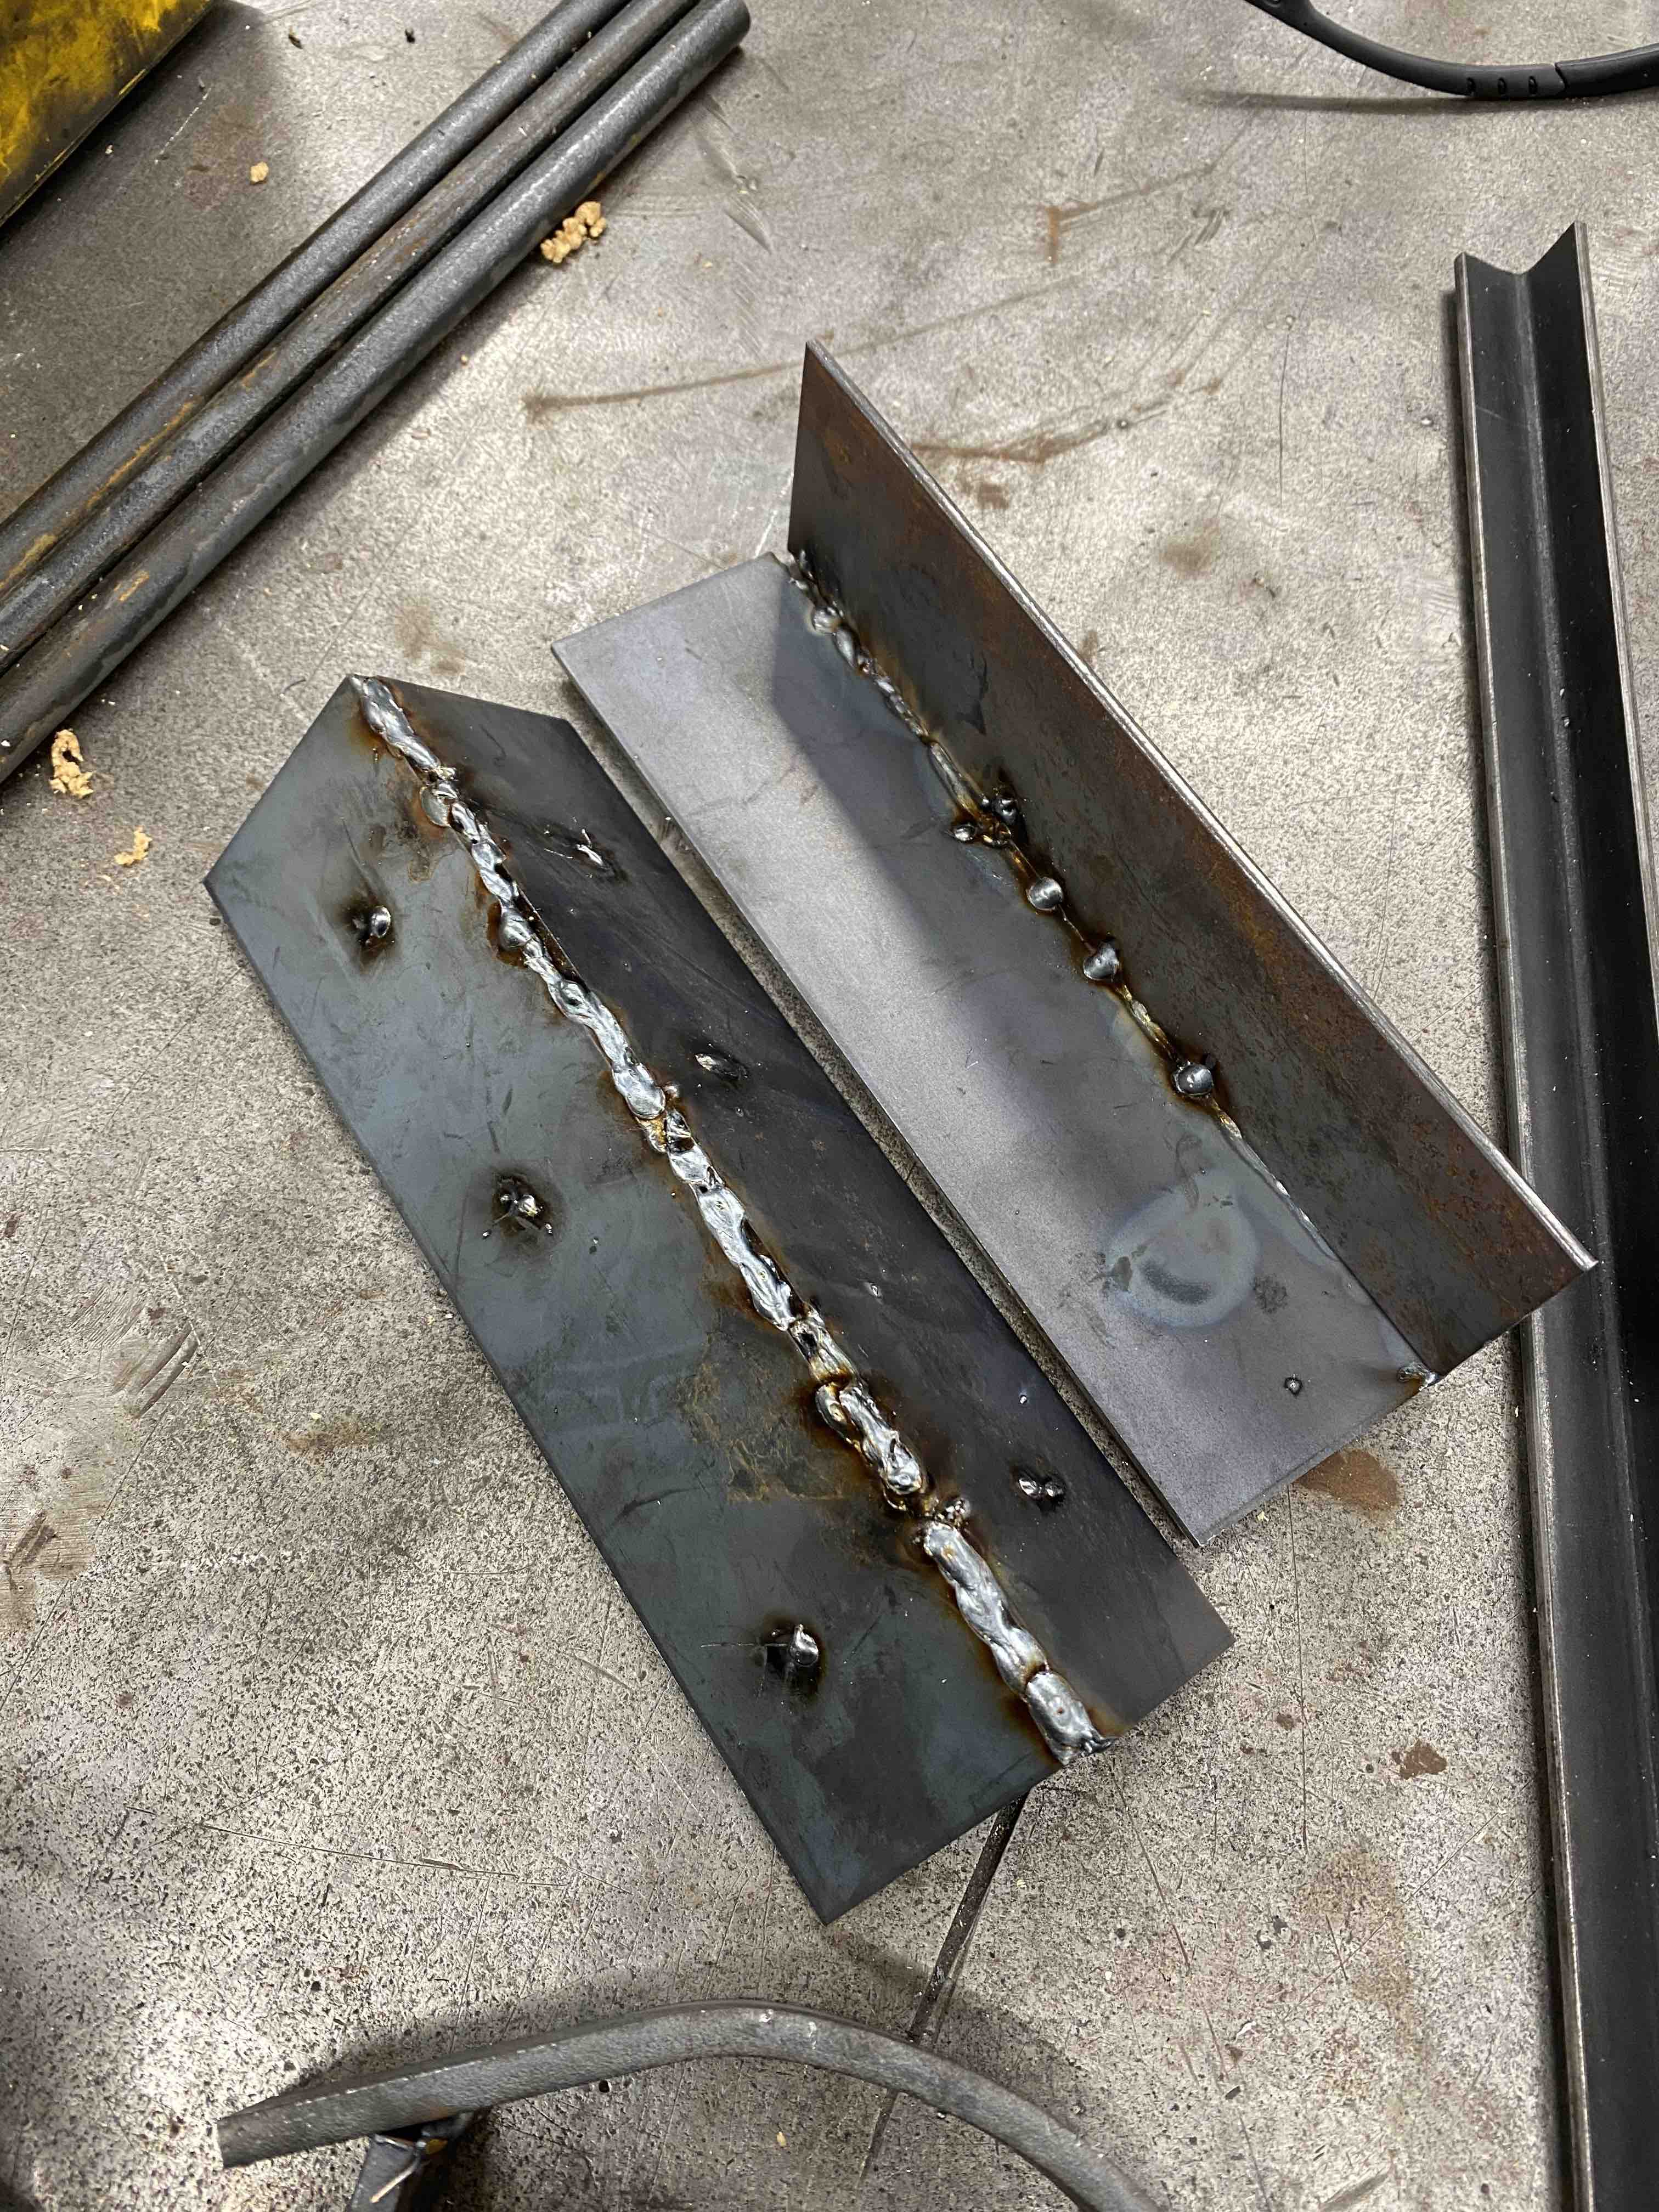
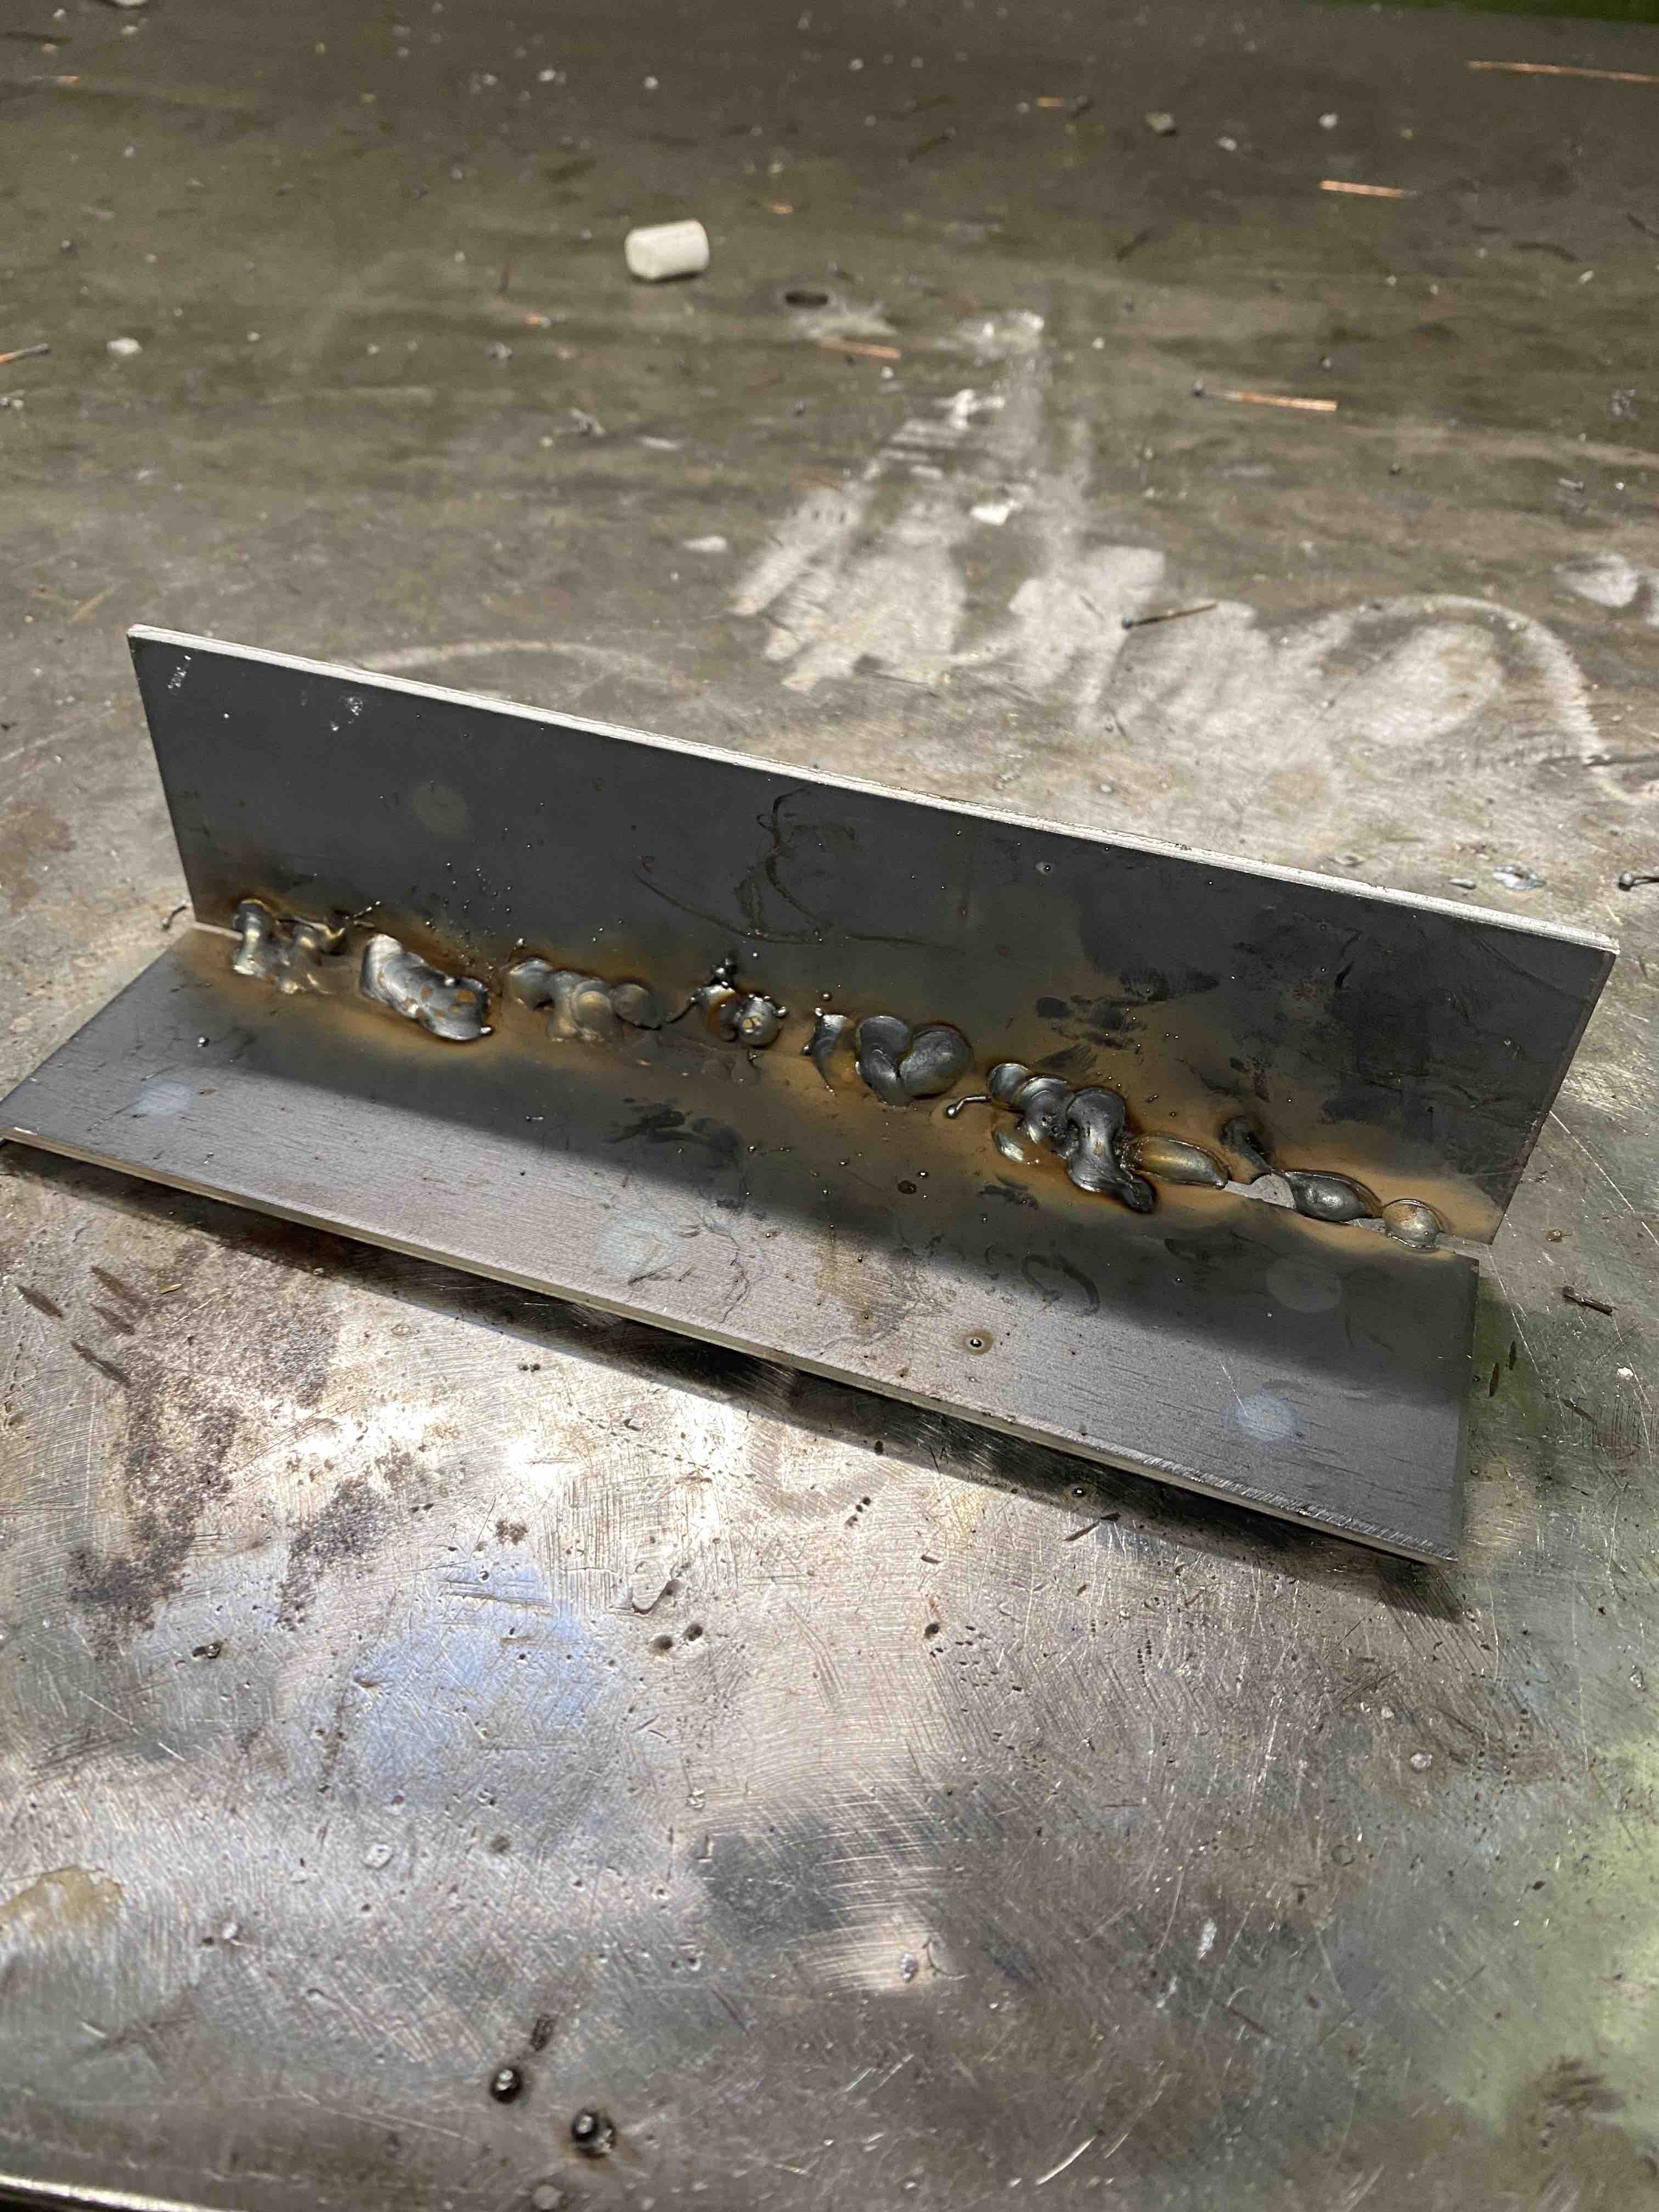

I practiced on several other pieces how to simply weld from point A to B in a straight line with a smooth even surface.
If I was in one area for too long the backside of the metal looks like It was about to go through. Also because it is a small piece of metal it tends to heat up faster.
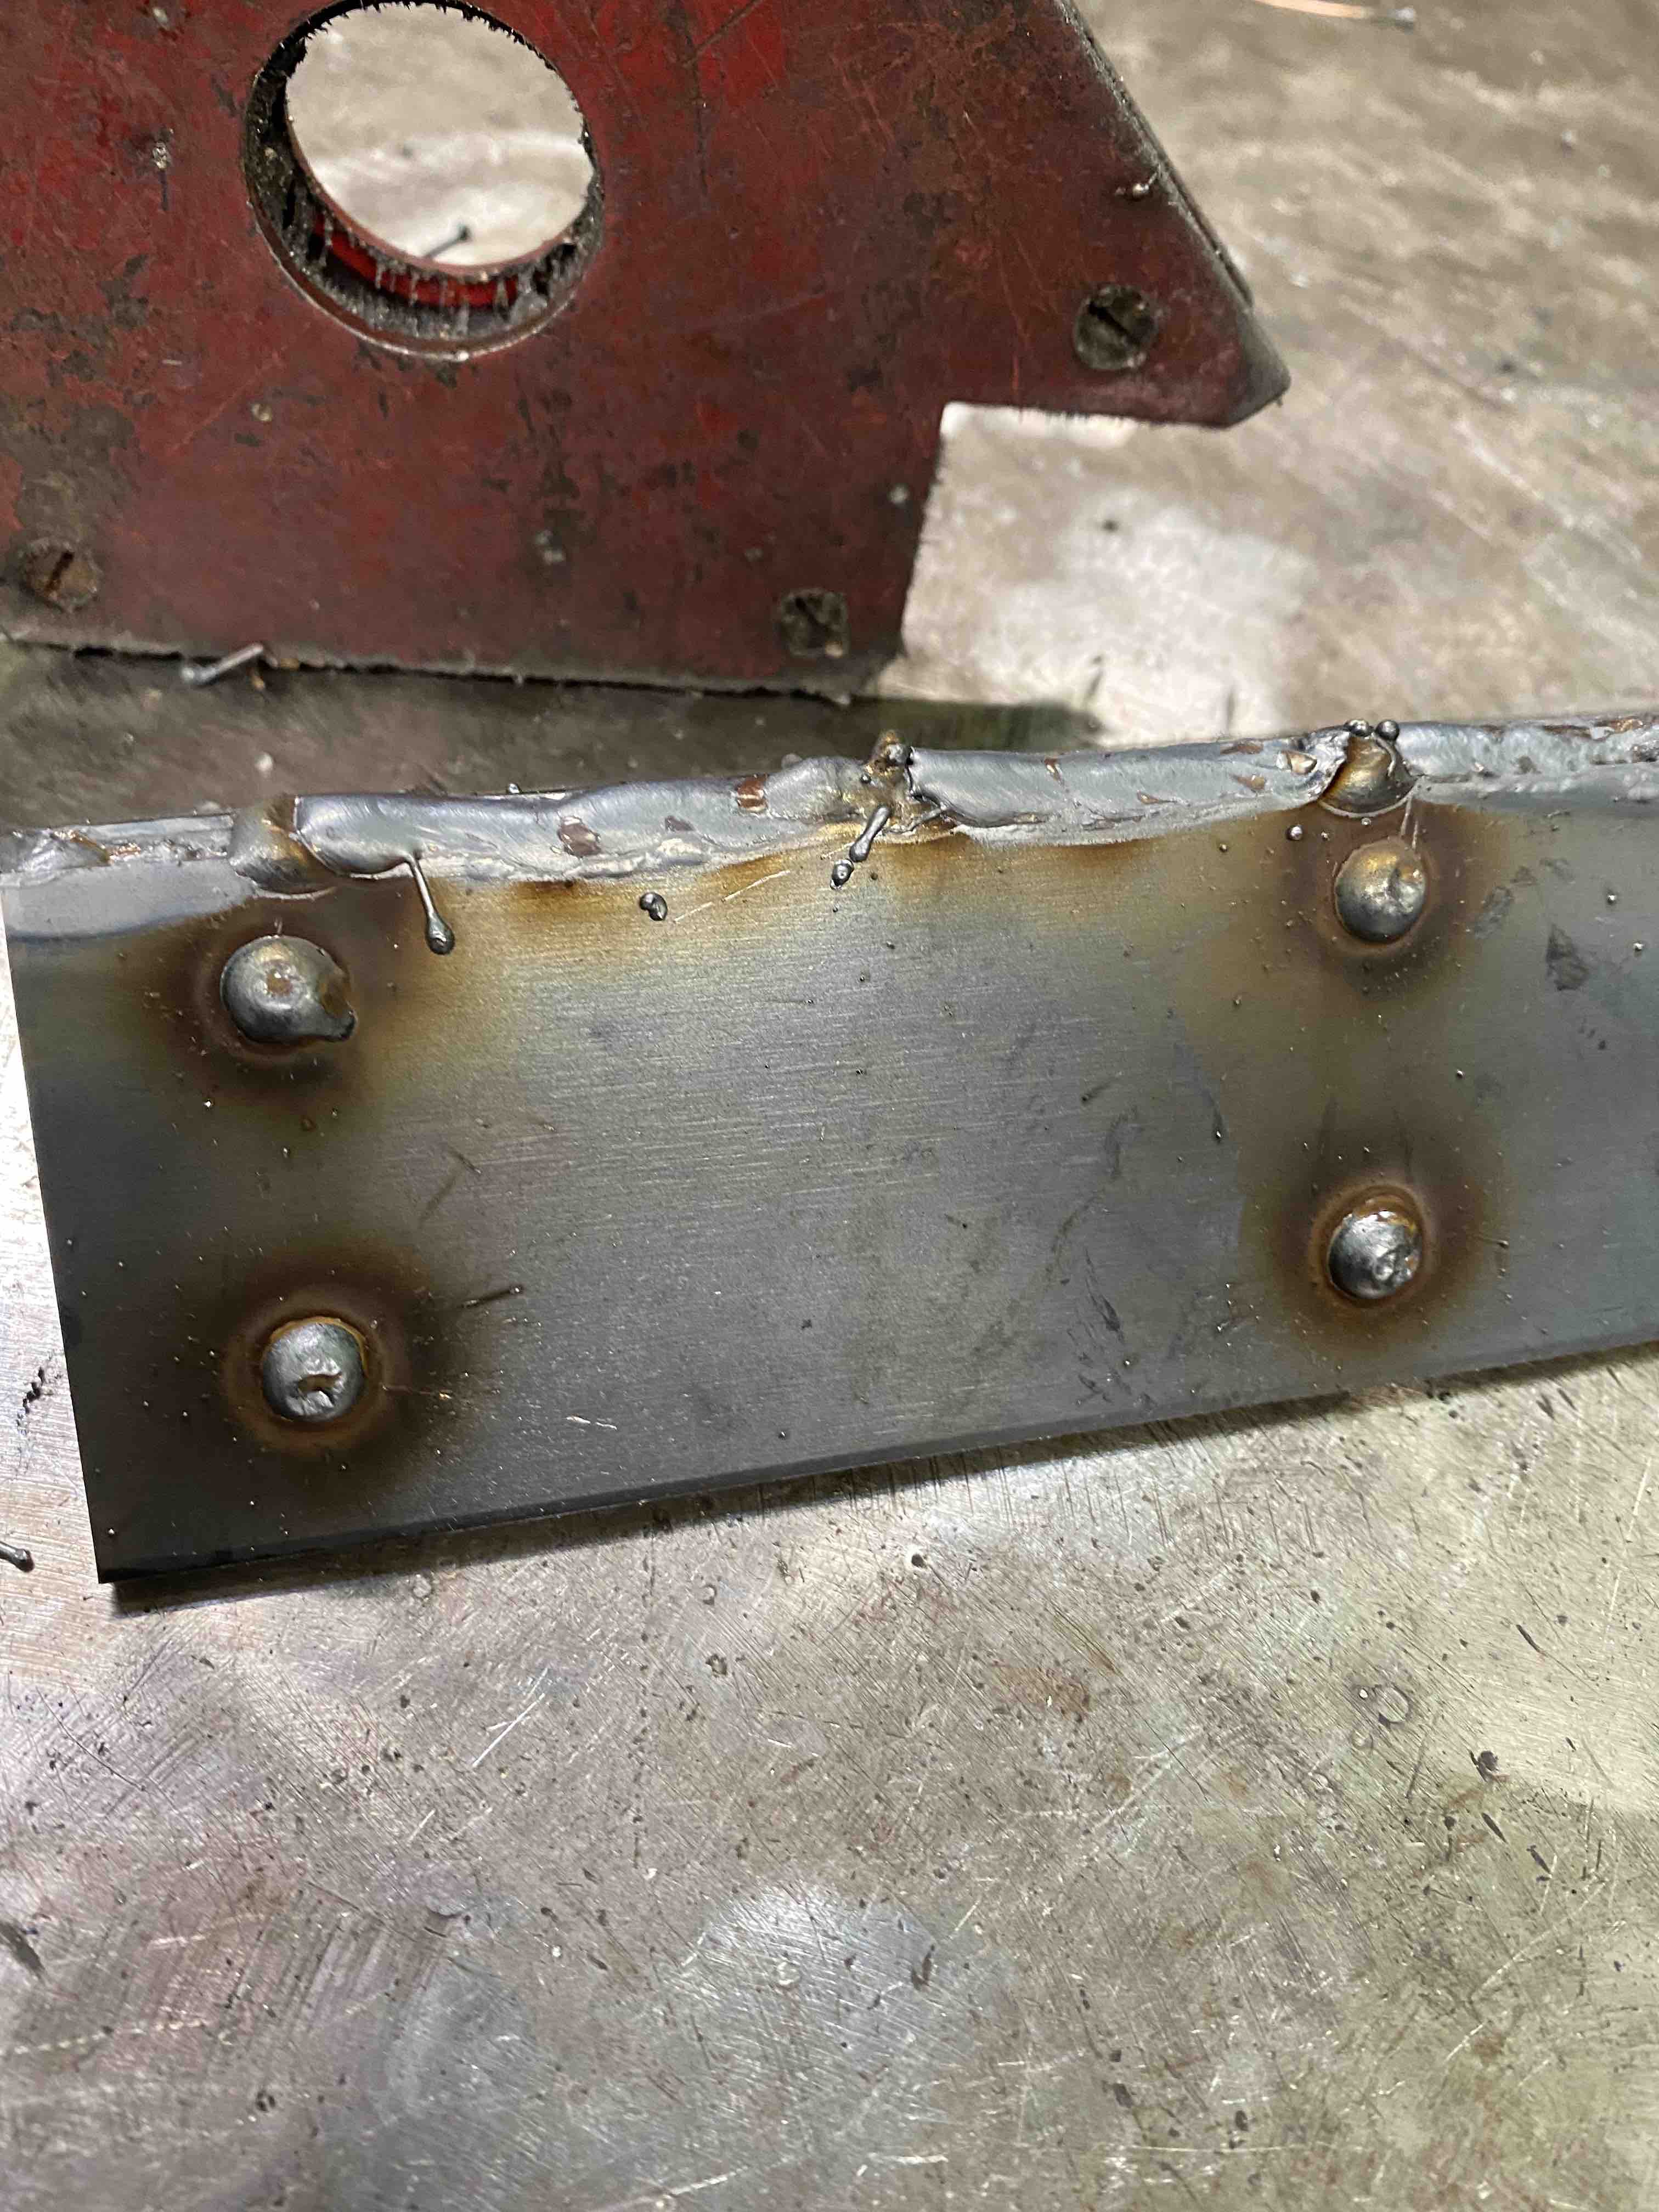
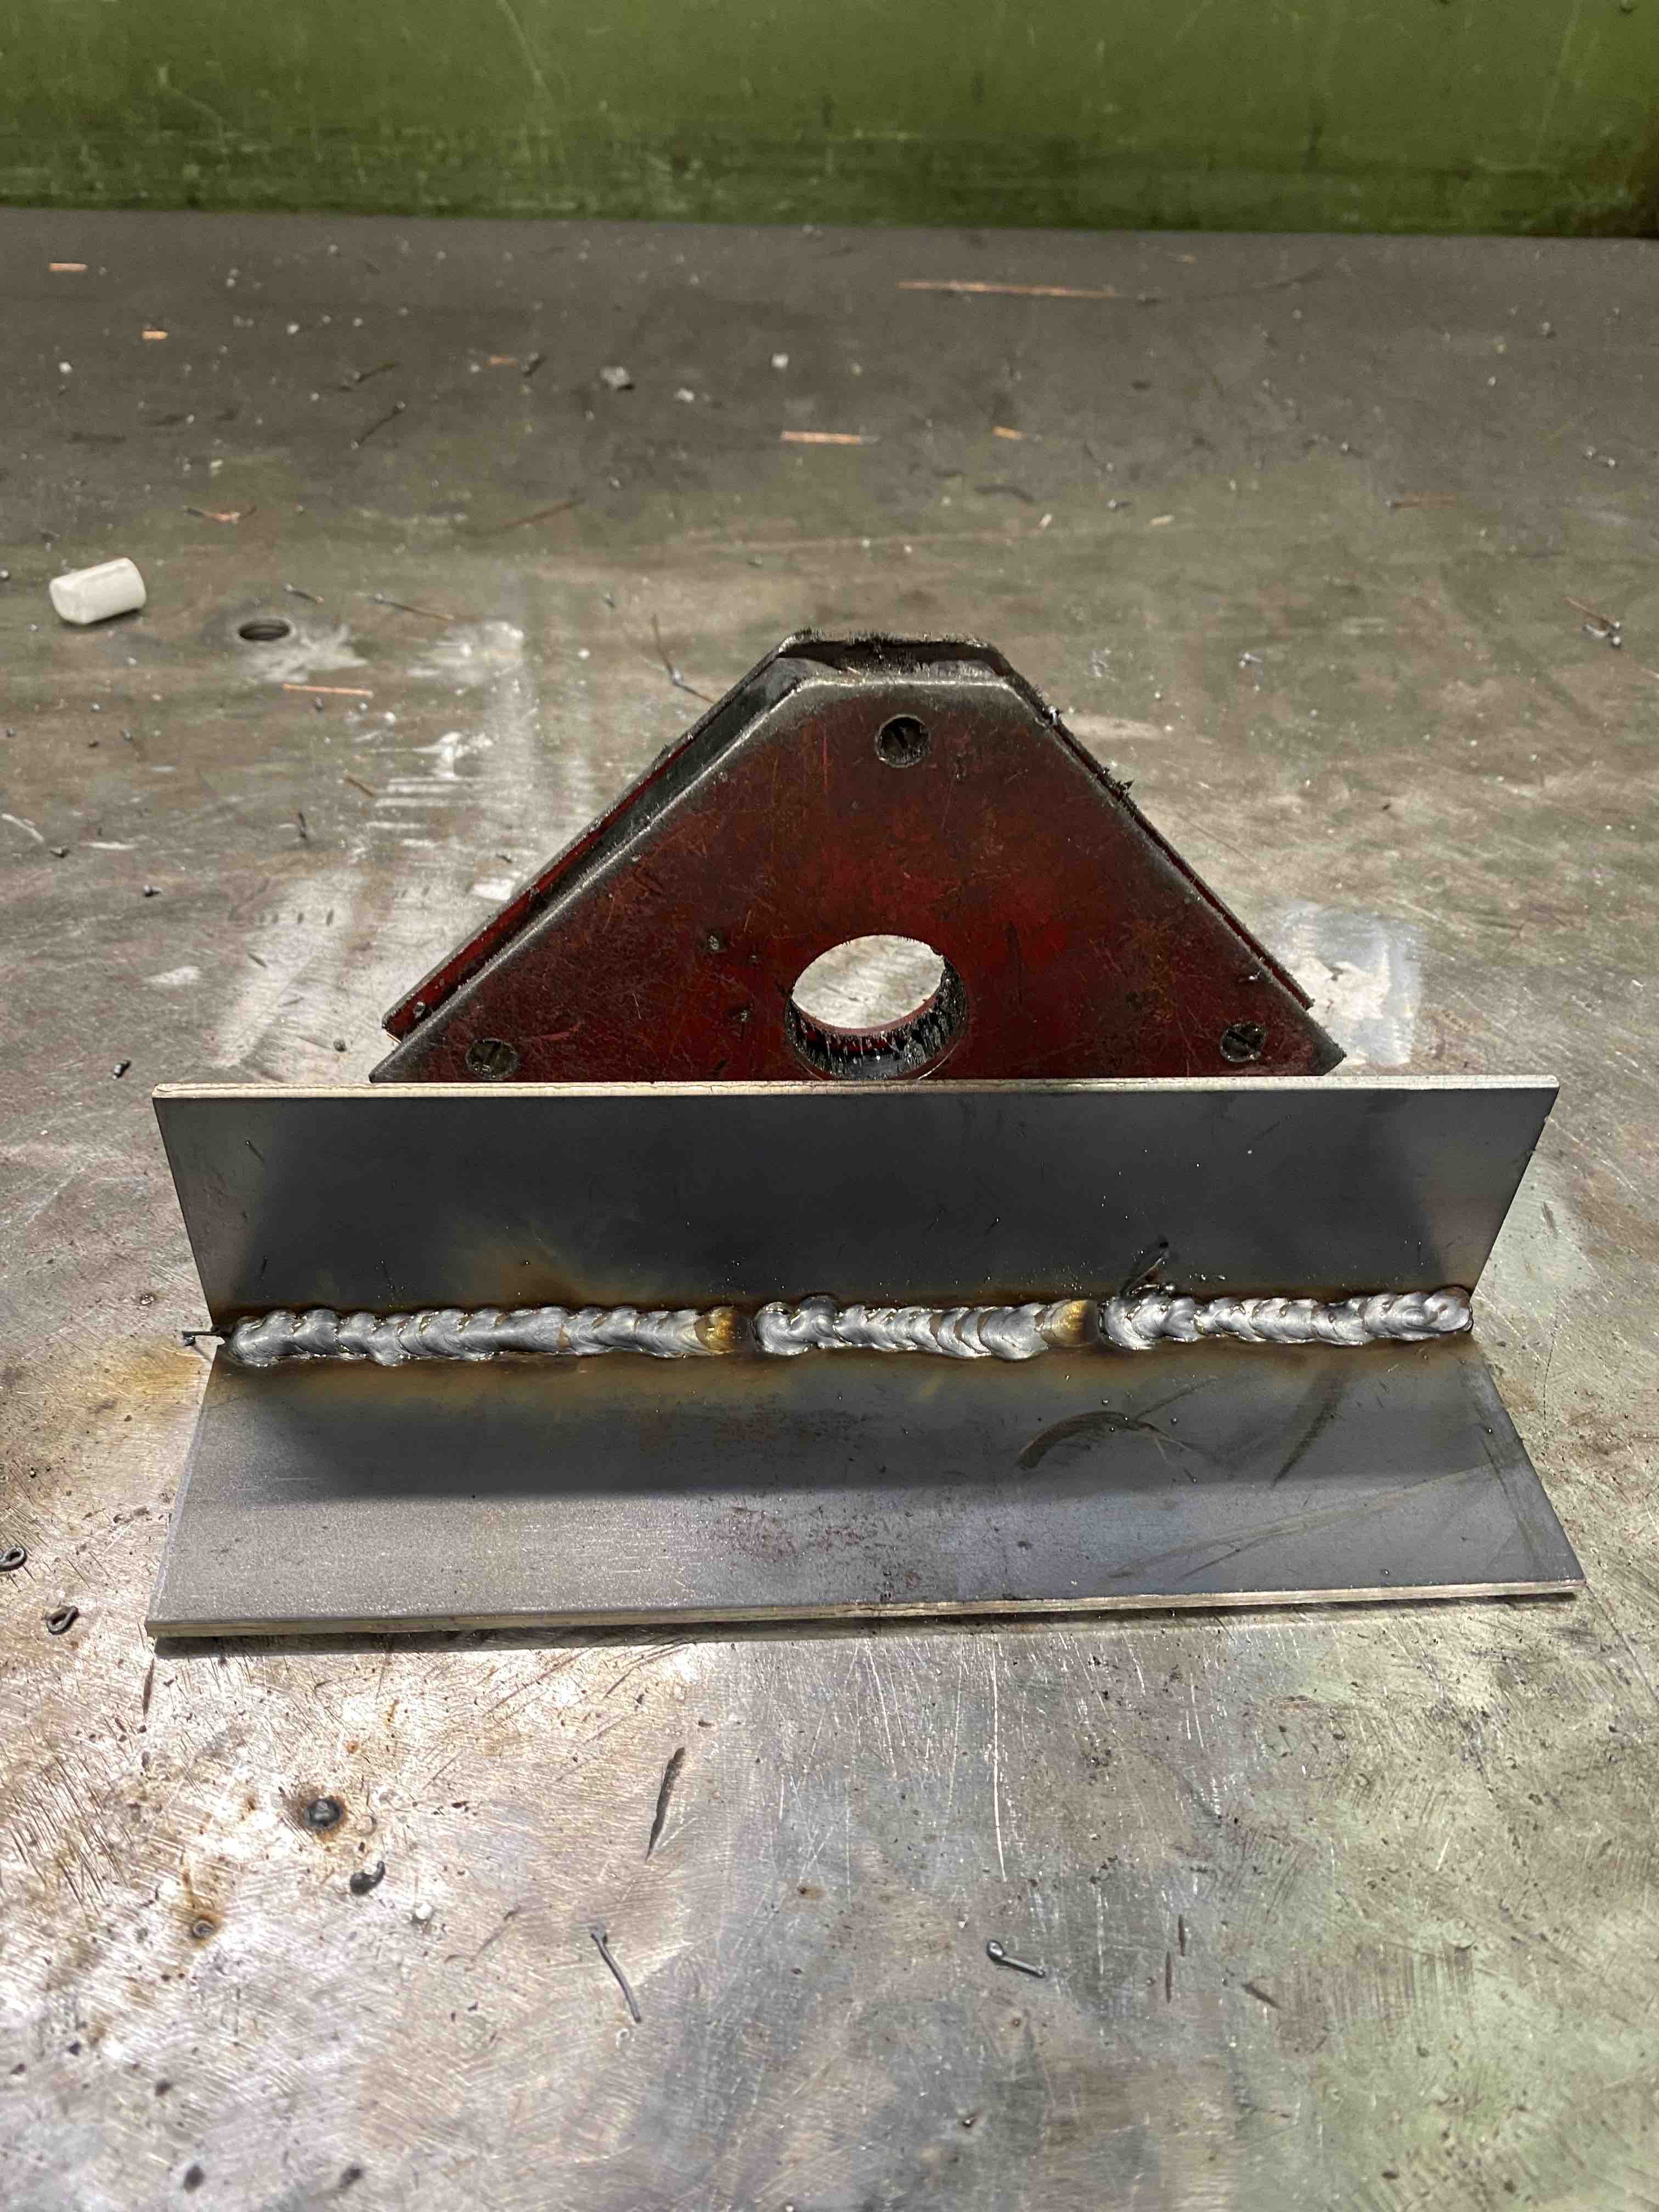
MAC Welding Square Tubes
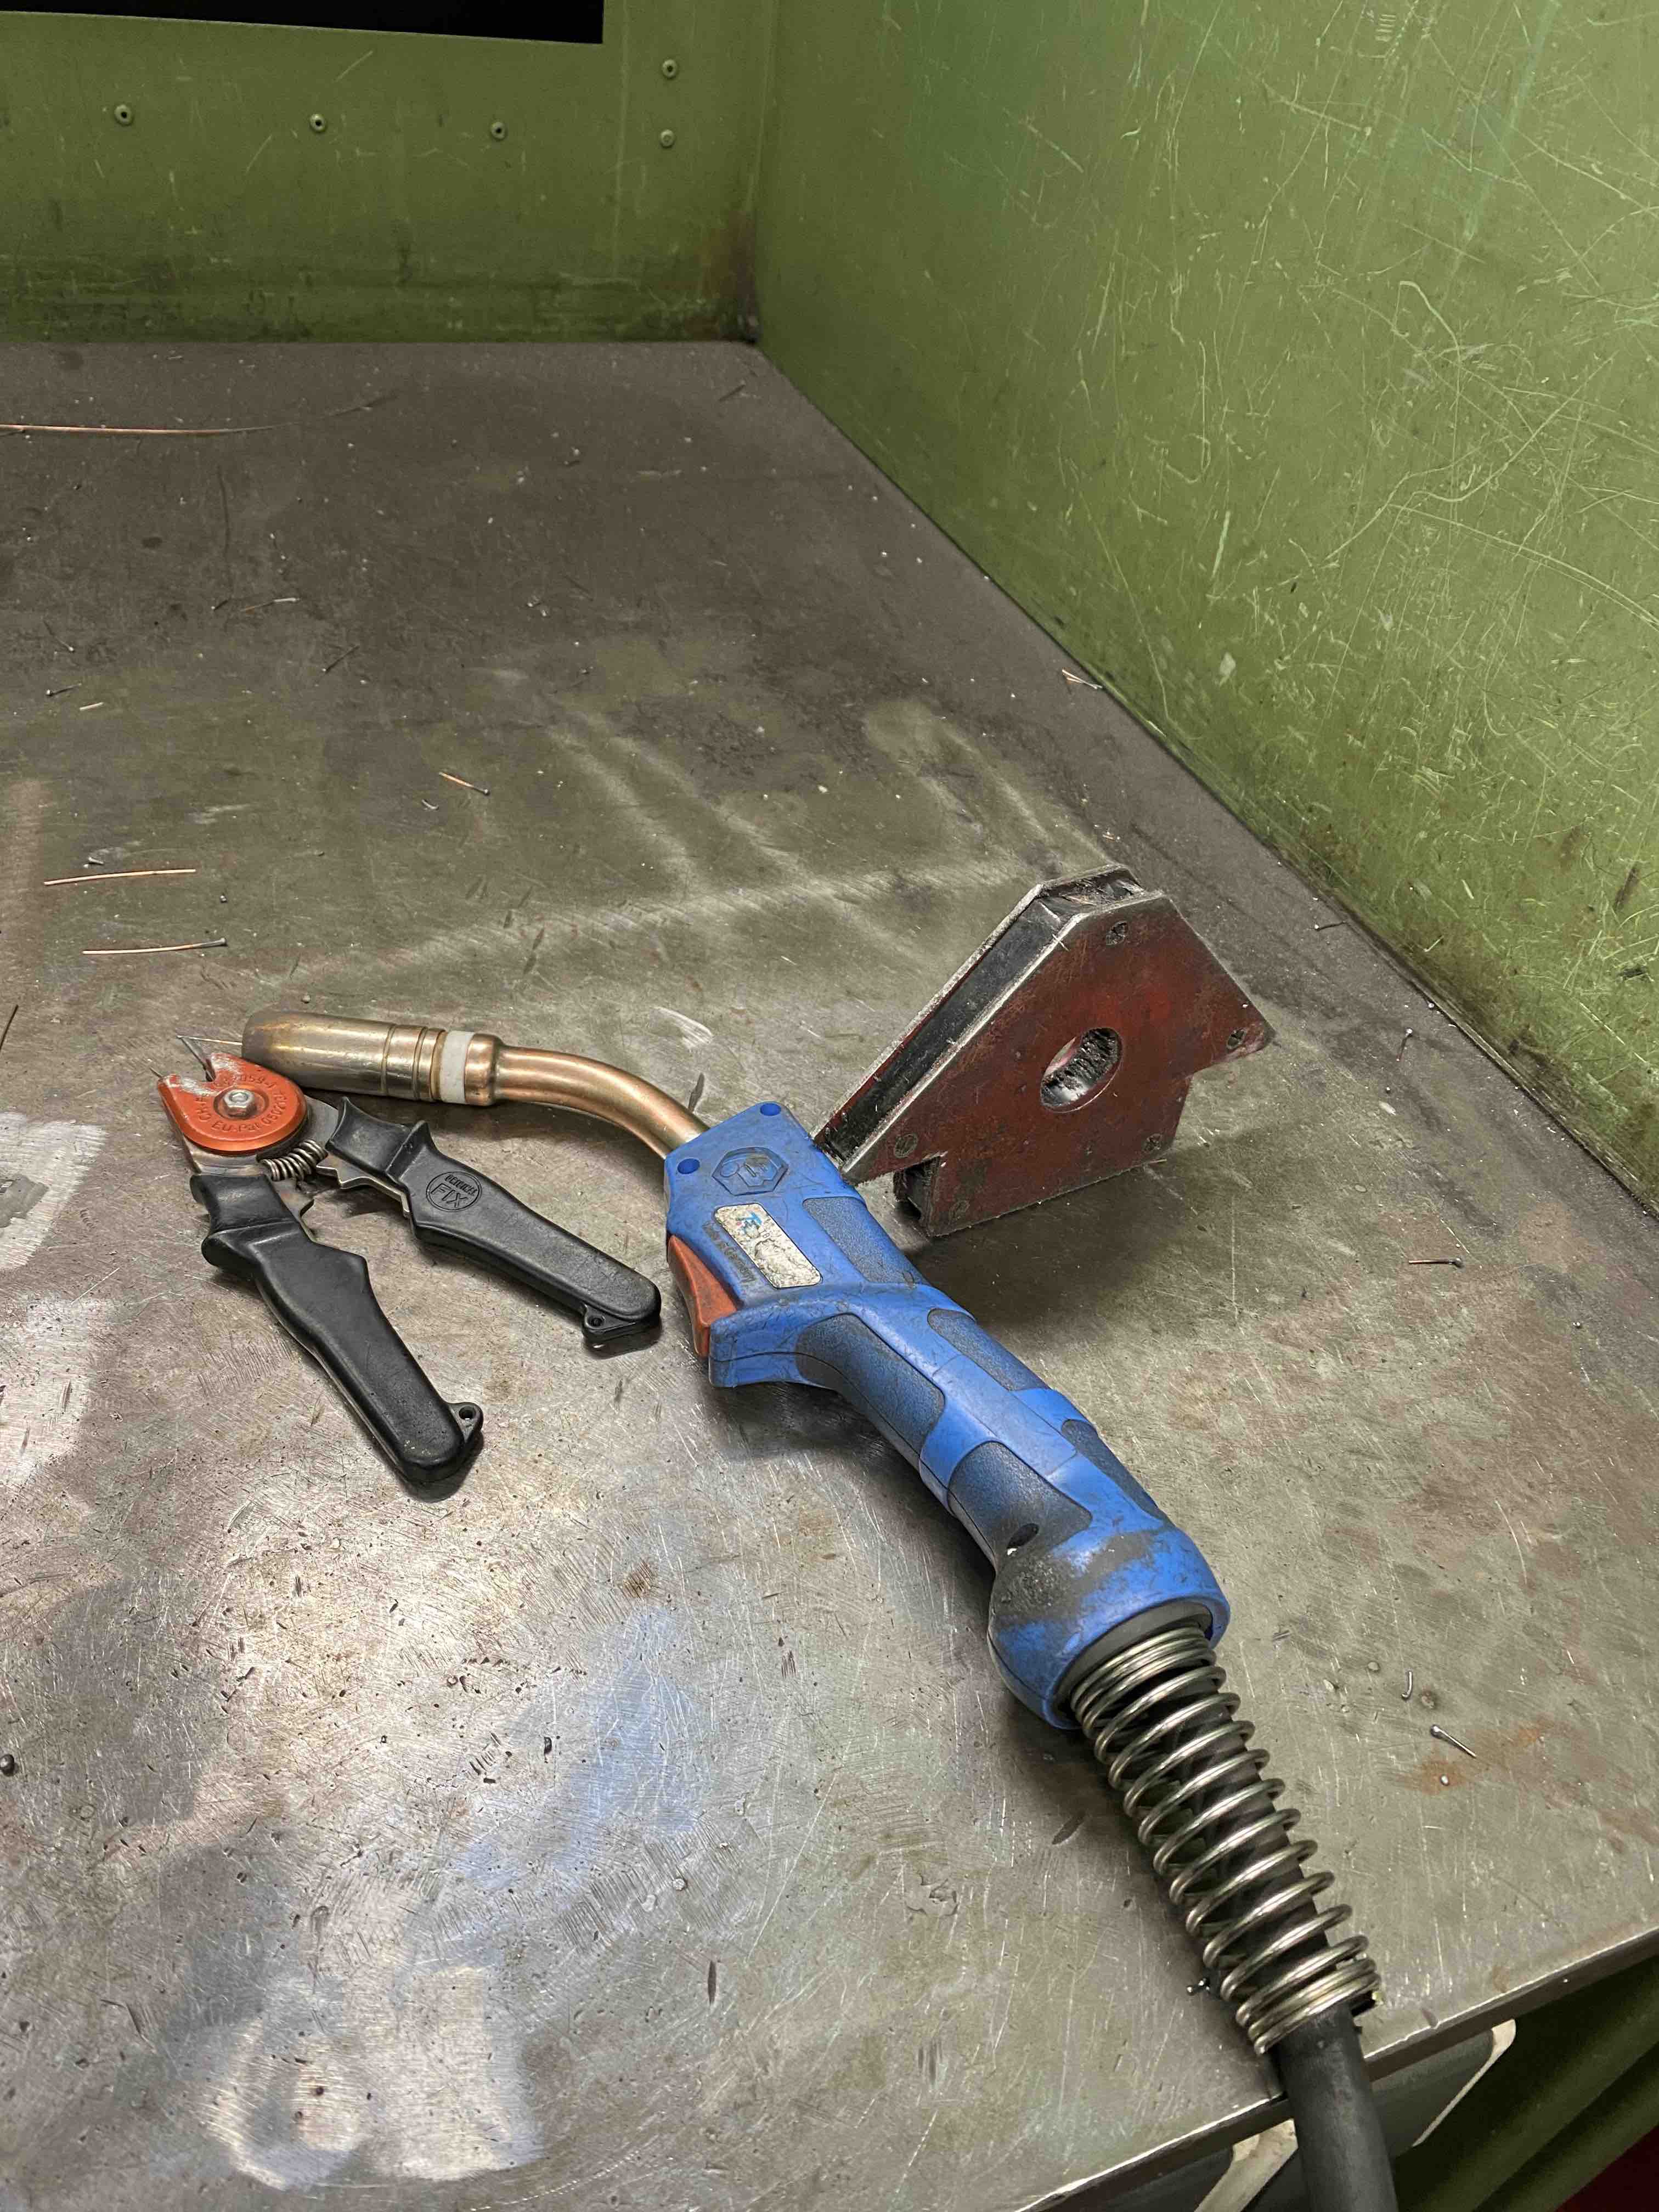
Welding together square tubes means also we have to make sure there is a 90° angle which means we use extra tools to help us like a square helper and a plastic hammer.
Welding together square tubes means also we have to make sure there is a 90° angle which means we use extra tools to help us like a square helper and a plastic hammer.
Welding together square tubes means also we have to make sure there is a 90° angle which means we use extra tools to help us like a square helper and a plastic hammer.
Notes:
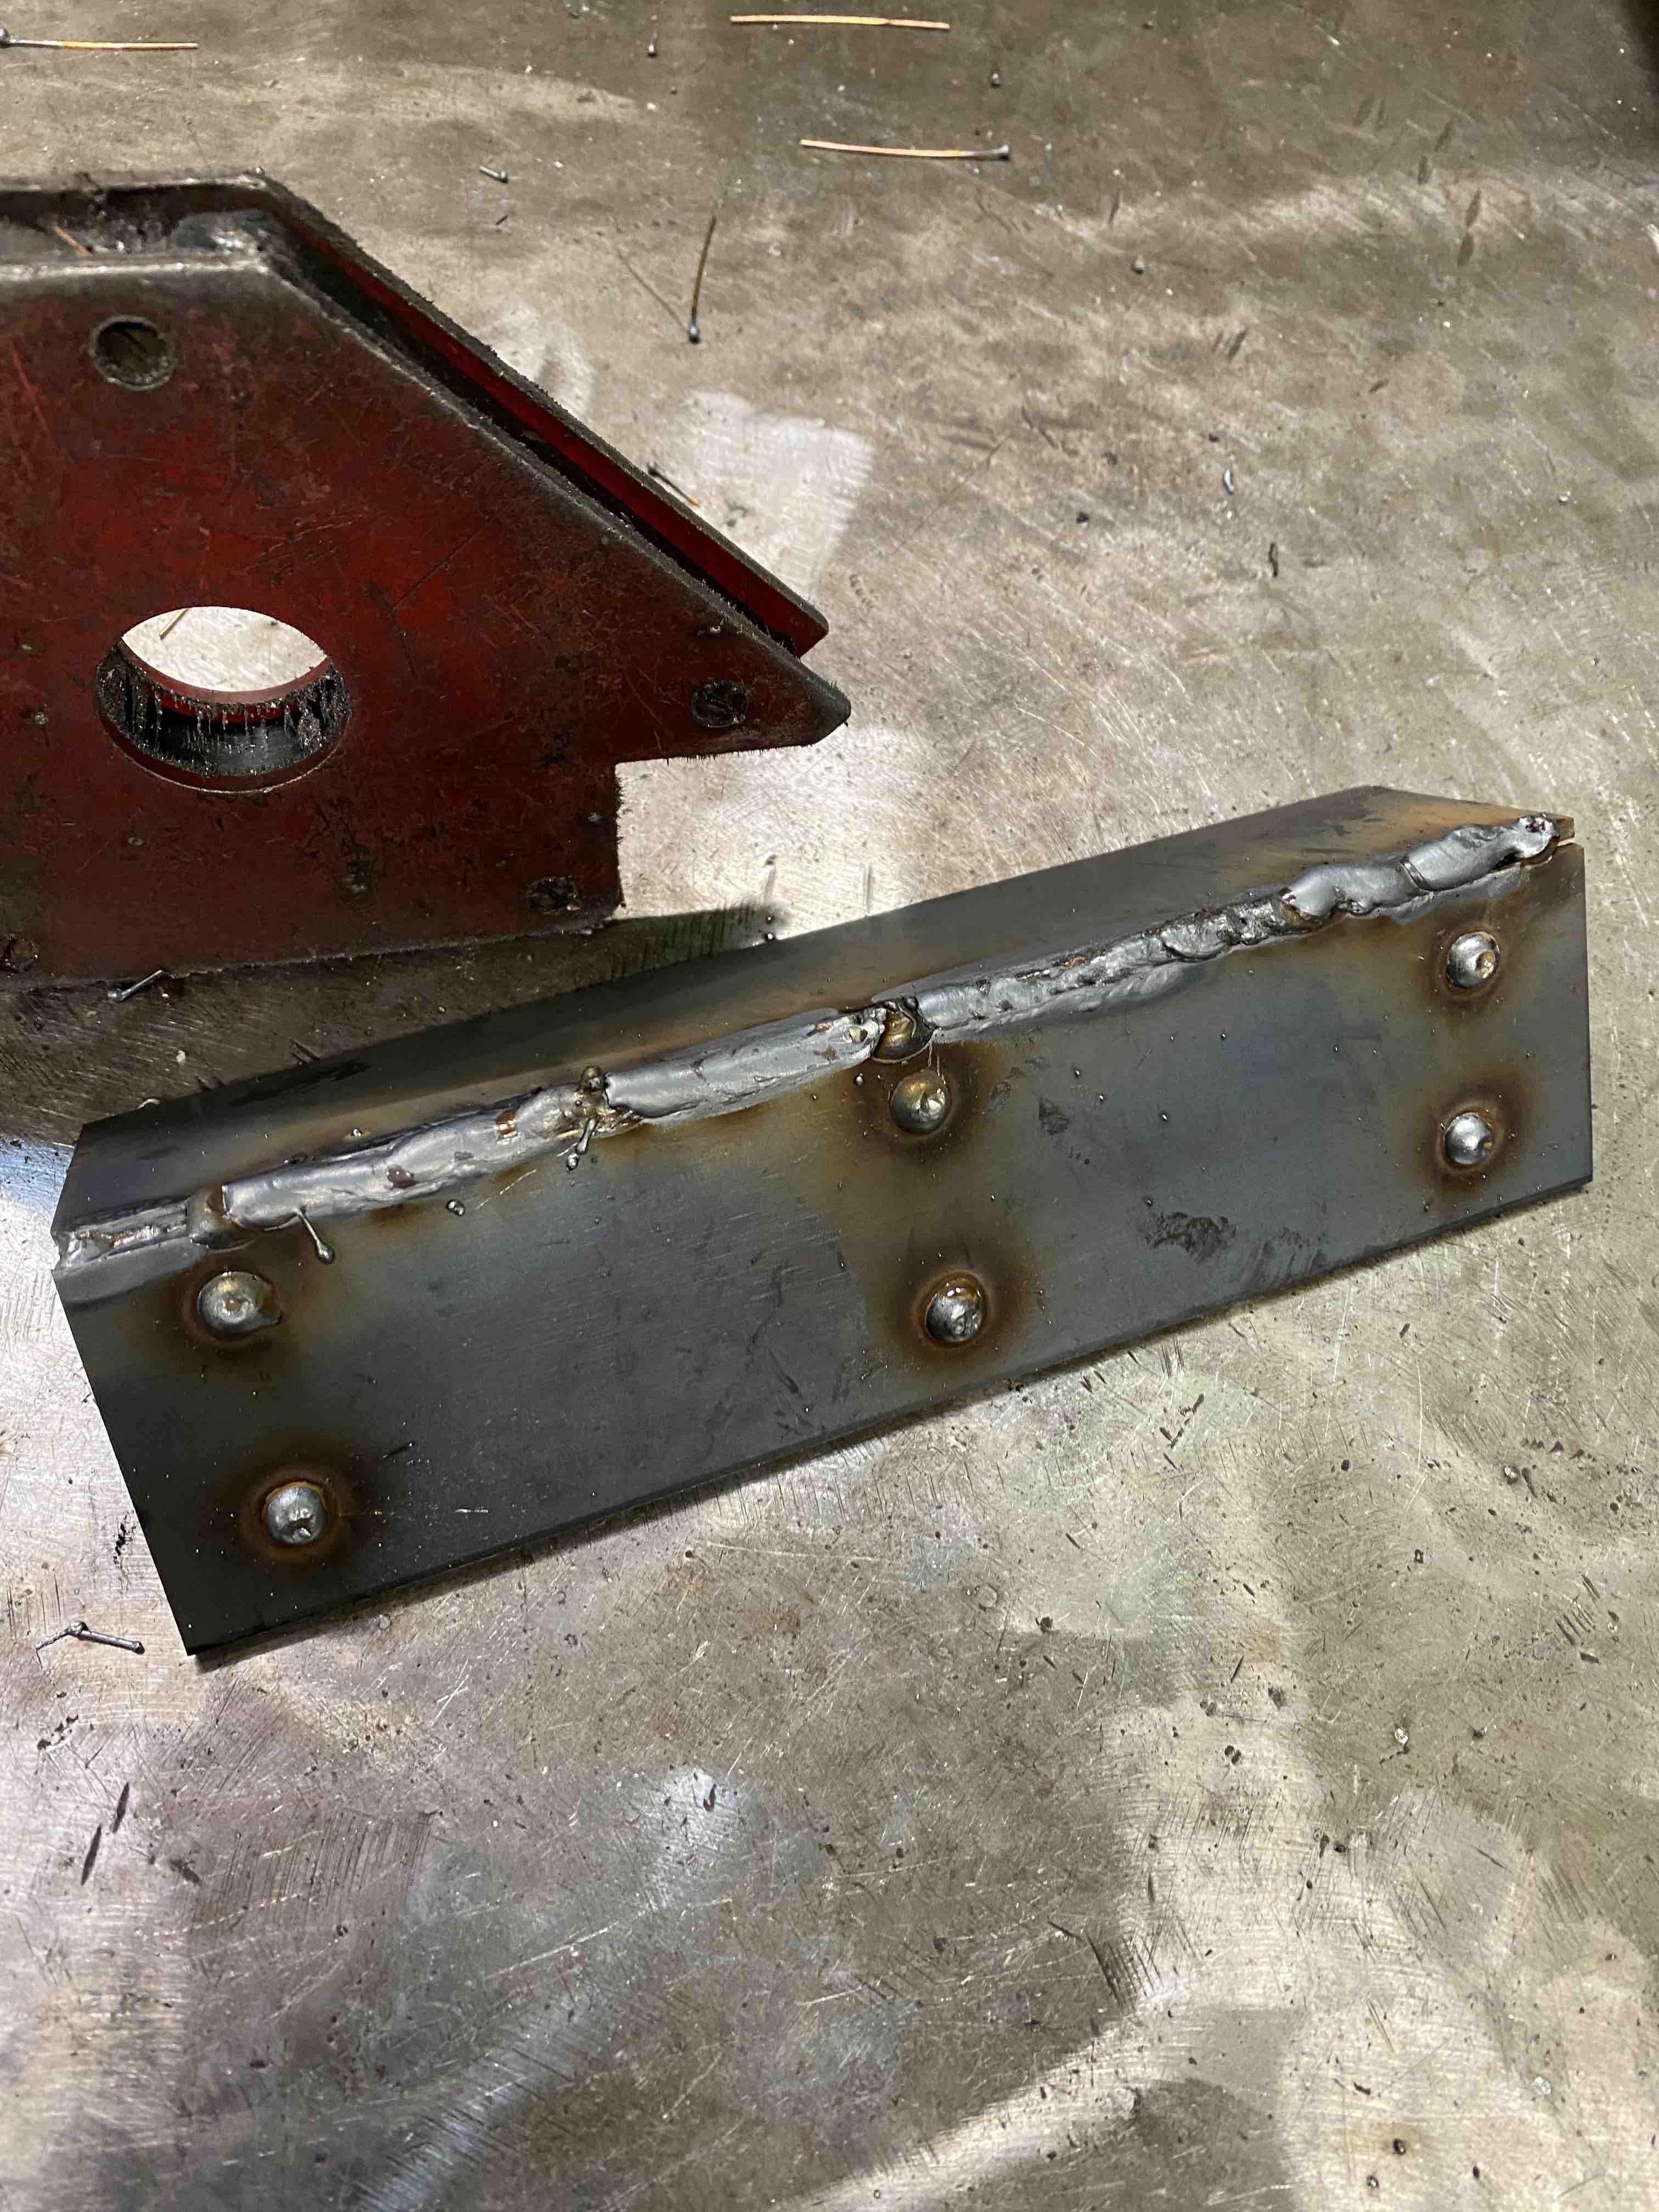
- always fit and then "tack" the metal pieces together
-use plastic hammer and square to adjust to the right angle
-when fitted completely fully weld two sides
- leave a gap between metals like previously (use a metal sheet and magnets to help you
Stool out of Metal Process
Final Industrial Chair
I made the mistake of not using a metal sheet to help me keep the distances of welding two pieces the same. So I ended up having to sand the ends of the chair legs to be even lengths.
Further experimenting:
- using thinner tubes to make it less heavy
- using cardboard models beforehand to create a prototype
- balance exercises at a small scale to make larger
- controlled bending metal to desired angles
- how can I make the welding technique more neat?
- designing comfortable seating out of metal? wood?
- how to make clean paint jobs on metal? spraying?
Reference Chair Options
Welding together square tubes means also we have to make sure there is a 90° angle which means we use extra tools to help us like a square helper and a plastic hammer.
- Using thinner circular tubes
- bending metal tubes
- neat weld joint
- Using metal sheets
- finding right structure for balance (looks dainty from picture)
- clean/smooth surfaces
Welding Technique
MIG Welding
Speed – The process is semi-automatic, and hence, there are few stops and starts. Therefore, the deposition rate is high leading to the high speed of welding.
Easy Operation – MIG welding is the easiest welding process as it is semi-automatic, and even beginners can do it without much skill.
Versatile – The process is applicable to most of the metal, starting from steel and nickel to different metal alloys.
Better Visibility – Most of the process is hands-free, and you get better visibility of the weld pool and weld formation. As there is less intervention, weld joints are clean and consistent.
Greater Penetration – With a better weld pool formation due to heating and melting of materials, the materials can mix better, and the weld formation is uniform with greater penetration of the material.
Application:
- welding large and thick materials with speed and adjustability.
- welding pipe, railway, regular repairing
TIG Welding
Neat Weld Joint – Out of all the welding techniques, TIG welding ensures the best result as the final output is neat, clean, and precise. Therefore, the appearance of the weld joint is going to be far better than any other process. It is highly useful in the professional field where the joint should not disturb the aesthetic value of the object.
Compatibility and Durability – TIG welding is applicable on a variety of metals, starting from aluminum and magnesium to steel, nickel, copper, and even gold. As far as durability is concerned, TIG weld joints are surely highly long-lasting, which is always desirable.
All Position Welding – TIG welding lets the welders weld the base metal in any position. Whether it is flat, horizontal, vertical, or overhead position, you can weld it in any confined area without any issue.
Clean Process – There is no spark and spatter generated in the process. This is because there is no extra consumption of filler material, and you only add the filter material when needed. As a matter of fact, the process does not generate too much smoke or fume if the base metal is clean. Moreover, this process doesn’t require flux or slag.
Application
Welding small and thin materials with precision and accuracy.
Measuring an existing stool/chair to get the right height and width for the seats. Th